
Three Distress Oxide Background Handmade Cards (Two Shaker Cards) Tutorial

Welcome to a new Cards By Kendra blog post!  


Today I wanted to share the tutorial video for these three handmade cards I made using Distress oxide inks for making the backgrounds.  I posted about the third card a few days ago, which is a scented "Happy Birthday" card.  I promised a tutorial video on how I made it, so here it is!  Two of these three cards are shaker cards. The first card I made (not a shaker card) is below.


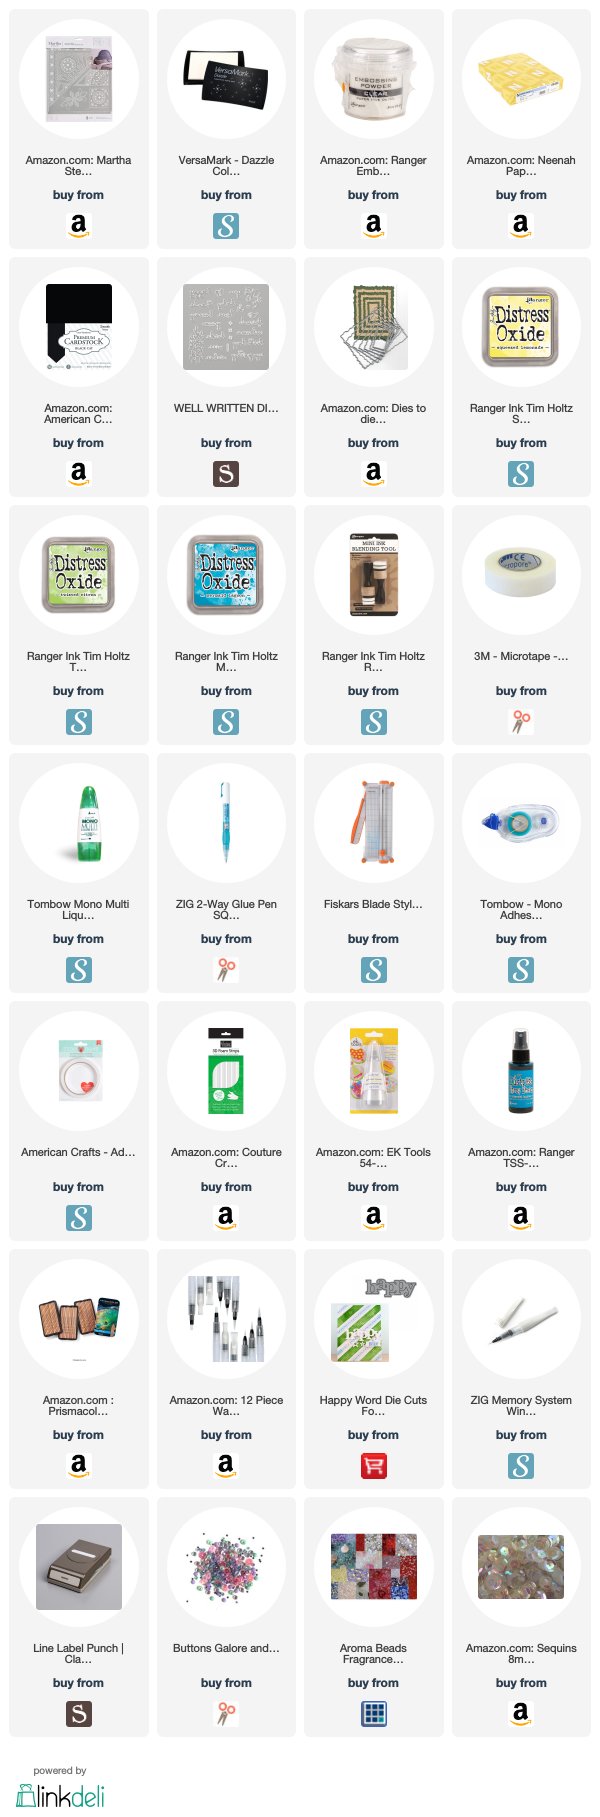
The first card was made using an emboss resist technique with the Batik stencil from Martha Stewart.  My video tutorial doesn't show all of the steps and instructions for the first card shown in the picture.  It only shows how I made the background.  To finish the card, I used the "Friend" die and the flower/vine die from the  "Well Written" die set by Stampin' Up. I thought the flower matched the center part of the stenciled image pretty well.  Black cardstock was used to cut out the die cuts and then adhered to the background. The background was placed on a black cardstock base (4.25" x 5.5"). I placed the sentiment "I believe IN YOU" that was punched out using Stampin' Up's Classic punch on top of a filigree die (from a retired die set) using 3D foam squares.

The instructions on how I made the background for the first card and the entire instructions on how I made the other two cards are in the video below:


If you're having trouble viewing the video on this page, you can click on the link and watch this in YouTube:  https://youtu.be/w22DgwYlDnk
   

I hope you like these three handmade cards I made using Distress Oxide Inks, especially the shaker cards! Please leave a comment below and let me know what you think!
Thanks! ~Kendra Morgan

(Compensated affiliated links used at no cost to you. Thank you for your support! Affiliate and product disclosure can be found here. All products were personally purchased. I was not paid to do this post nor am I on any design teams. I only use products I love!)


Please visit my website www.cardsbykendra.com for more card inspiration and tutorials.
Subscribe to my YouTube Channel
Please feel free to pin on Pinterest!

Comments

Popular posts from this blog

Kendra's Card Challenge #11 - Make 15 Cards with six sheets of 6"x6" Patterned Paper & Enter to Win Prizes!

Kendra's Card Challenge 11 Hello and welcome! It's time for a new quarterly card making challenge!  This challenge is open to card-makers worldwide!!   The contest dates for #KendrasCardChallenge11 are from July 1 to September 30, 2023.  Use the Free PDF file with cutting templates and card sketches to create 15 cards from six sheets of 6"x6" patterned paper. Upload a photo of your creations to the Facebook Group "Kendra's Card Challenges" in the KCC11 Official Entry Photo Album (by month you are uploading) and you can have a chance to win one of many amazing prizes!!  You can also share your creations on social media using the hashtags #KendrasCardChallenge11 and #KCC11  Company Sponsored Prizes:   🎁 Altenew - Two $15 Gift Certificates 🎁 Artful Angel - $30 Gift Certificate 🎁 Catherine Pooler Designs - $25 Gift Certificate 🎁 Crafty Meraki - $25 Gift Certificate (1 Winner per month) 🎁 Colorado Craft Company - Stamp Sets (1 Winner per month) 🎁

DIY Lip Balm Gift Tag Pouches for Inexpensive Birthday and Thank You Gifts

I wanted to share these lip balm gift tags that I made a few weeks ago using products from My Favorite Things .  I thought these gift tags would make the perfect inexpensive gift to give to my students on their birthdays.  I also made some to give to the young women at my church on Valentine's Day.  I found several lip balm packs on eBay in candy flavors, so I thought they would love them in these cute little gift tags!!  Keep reading for instructions on how to make your own DIY lip balm pouch gift tags! Valentine's Day Lip Balm Pouches I started out making these lip balm gift tag pouches with 110# heavy-weight white card stock, placing the Sweet Treat tag next to another 3" wide tag that I had in my stash.  I knew I'd be making multiples of these cute little gifts so I was trying to save time.  I placed the lip balm window die 3/4" away from the edge of the Sweet Treat Die while also placing the rip strip in the center of the other stitched tag die to

Kendra's Card Challenge #10 - Make 15 Cards with six sheet of 6"x6" patterned paper & enter to win prizes!

Kendra's Card Challenge 10 Hello and welcome! It's time for a new quarterly card making challenge!  This challenge is open to card-makers worldwide!!   The contest dates for #KendrasCardChallenge10 are from April 1 to June 30, 2023.  Use the Free PDF file with cutting templates and card sketches to create 15 cards from six sheets of 6"x6" patterned paper. Upload a photo of your creations to the Facebook Group "Kendra's Card Challenges" in the KCC10 Official Entry Photo Album (by month you are uploading) and you can have a chance to win one of many amazing prizes!!  You can also share your creations on social media using the hashtags #KendrasCardChallenge10 and #KCC10  Company Sponsored Prizes:   🎁 Altenew - Two $15 Gift Certificates 🎁 Artful Angel - $30 Gift Certificate 🎁 Catherine Pooler Designs - $25 Gift Certificate 🎁 Colorado Craft Company - Stamp Sets (2 Winners per month) 🎁 Gina K Designs - $25 Gift Certificate 🎁 Kat Scrappiness - $25